
Uncategorized
How to Repair a Down Jacket and Outdoor Gear Without an Iron – A Guide to Self-Adhesive Patches

Jul
Has your down jacket got a small hole? Did your waterproof trousers snag on a branch, or did your child’s puddle suit get damaged at the knee?
Throwing away an otherwise perfectly usable garment is both expensive and unnecessary. Furthermore, stitching or using an iron is often not suitable for many thin, synthetic fabrics. In these cases, a self-adhesive repair patch is an incredibly simple way to cover the damage and extend the lifespan of your gear.
In this guide, we will walk you through which type of patch suits different types of damage, how to get it to stick properly, and which materials you should be a little extra careful with.
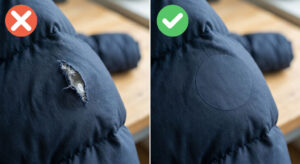
Quick Guide: Which self-adhesive patch should you choose?
Choose a patch that matches both the size of the damage and the material of the garment.
A small hole or minor snag
Choose a round, pre-cut repair patch. It is quick to apply and requires no cutting.
A tear or an irregular hole
Choose a repair patch sheet that you can custom-cut to match the size and shape of the damage.
A long or wide tear
Choose an XL patch (10 × 30 cm). This gives you more material to work with and can be cut into any shape you need.
Multiple small scuffs or holes
Choose a pack of pre-cut shapes. You get several sizes and avoid having to measure and cut from a large sheet yourself.
Self-adhesive patches normally adhere best to clean, smooth, and relatively firm synthetic materials, such as down jackets, outerwear, sleeping bags, and similar products. On heavily textured, elastic, or specially coated fabrics, results may vary.
Before you repair a down jacket
When the outer fabric of a down jacket rips, it is best to seal the hole quickly before it gets any larger or more of the feathers escape.
Avoid pulling out any down or feathers that are poking through the hole. Instead, gently poke the filling back inside using a finger or a blunt object.
Bring the edges around the tear together as neatly as possible, without stretching or puckering the fabric.
If there are loose threads sticking out, they can be carefully snipped off. However, avoid cutting away any more of the outer fabric than is absolutely necessary.
Our range of self-adhesive patches
The products below all work on the same simple principle: you clean the surface, cover the damage, and press the patch down firmly. The main differences lie in the size, shape, and how much cutting you need to do yourself.
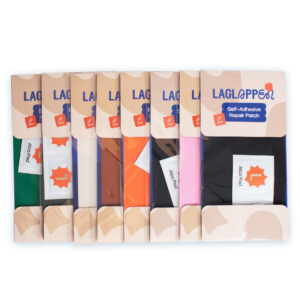
1. Nylon repair patches for down jackets
Best suited for: Thin and smooth synthetic materials, such as many down jackets, outerwear, sleeping bags, and tents.
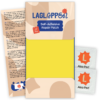
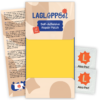
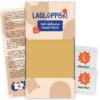
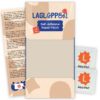
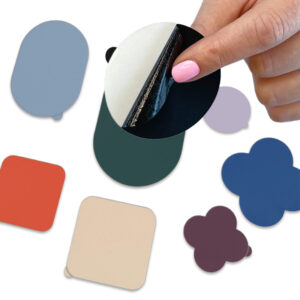
This type of repair patch is thin and flexible, making it highly suitable for lightweight outer fabrics. You cut a piece yourself to fit the damage, allowing you to tailor both the size and shape perfectly to the hole or tear.
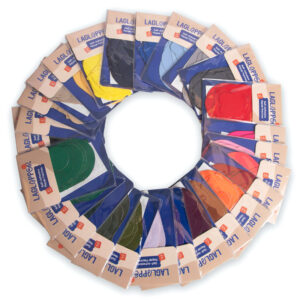
Try to choose a colour that closely matches your garment if you want the repair to be as discreet as possible. The patch will still be slightly visible – especially in certain lights or if the texture differs from the garment. Do not try to cut the patch to the exact size of the tear; it needs to overlap onto the undamaged fabric around it to get a proper grip.

 Black
Black Black (glossy)
 Navy Blue
 Algae Green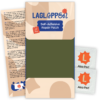
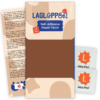
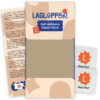
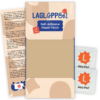
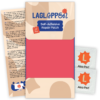
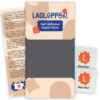
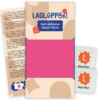
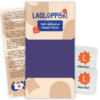
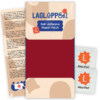
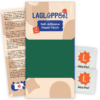
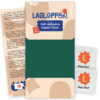
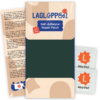
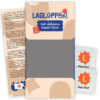
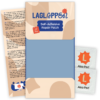
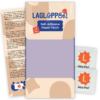
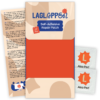
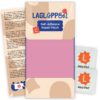
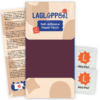
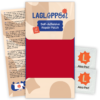
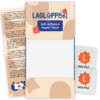
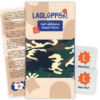
2. XL repair patch for outerwear – 10 × 30 cm
Best suited for: Longer tears, larger damaged areas, and situations where you want to cut out a larger or unusual shape yourself.
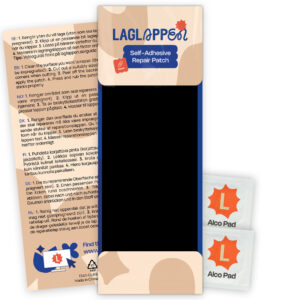
The XL patch measures 10 × 30 cm and gives you plenty of material to work with. It is the perfect choice when a standard, smaller sheet is not enough, or if the damage has a long, irregular shape. You can also cut many smaller pieces out of this single sheet.
Keep in mind that a larger patch does not automatically mean a better repair. Always match the size to the damage, and avoid unnecessarily large patches on thin or highly drapeable garments.
3. Self-adhesive round repair patches
Best suited for: Small holes, punctures, and minor damage where a round patch covers the entire area.
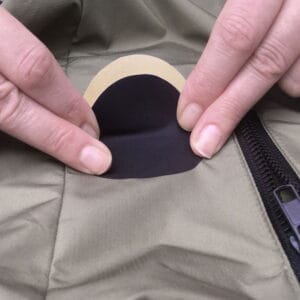
The pre-cut round patches are 3 cm in diameter. Because the shape is already round, you do not need to round off the corners yourself. This makes them incredibly practical when you want to quickly seal a small hole in a jacket, snowsuit, or sleeping bag.
Ensure that the round patch covers the entire damage and still has plenty of contact area with the fabric around it. If the tear is too long or the hole is too close to the outer edge of the patch, you should choose a larger patch and cut it to size.
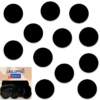 Black
Black Dark Blue
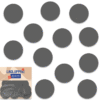 Dark Grey
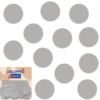 Grey
Grey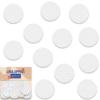
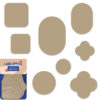
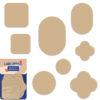
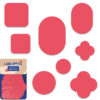
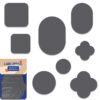
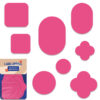
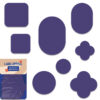
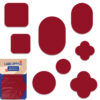
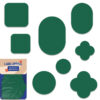
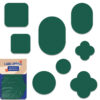
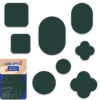
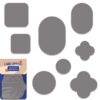
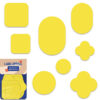
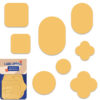
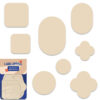
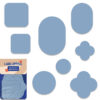
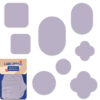
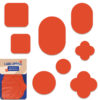
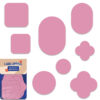
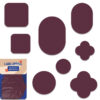
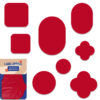
4. Self-adhesive repair patches in pre-cut shapes
Best suited for: Multiple small repairs, and for anyone who wants to skip cutting out the shapes themselves.
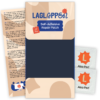
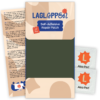
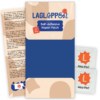
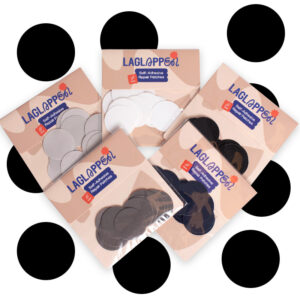
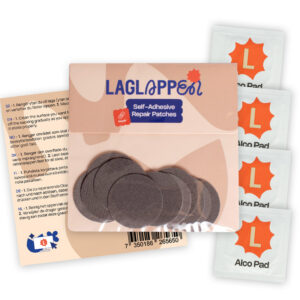
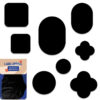
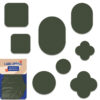
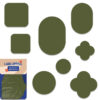
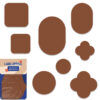
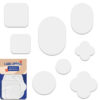
The pack contains eight pre-cut patches in practical shapes and sizes. The rounded edges reduce the risk of a corner catching on something and peeling off. Simply choose the shape that best covers the damage, and trim it further with scissors if needed.
The patches are supplied in a reusable storage wallet alongside a guide and two alcopads (alcohol wipes). This makes it easy to store the remaining patches safely until you next need them. The shapes are purely functional – they are not decorative designs like hearts or stars, but practical repair shapes designed to fit typical tears.
 Black
Black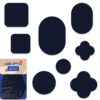 Navy Blue
 Algae Green
 Army Green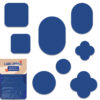
How to apply a self-adhesive patch
Proper application is just as important as choosing the right patch.
- Check the material
Ensure the surface is reasonably smooth and that the patch can make full contact with the fabric all around the damage. On very coarse, soft, elastic, or heavily coated materials, the adhesive may find it harder to grip. - Clean the area
Dirt, skin oils, reproofing agents, and other residues can weaken the adhesive. Clean the area around the damage thoroughly and let it dry completely. Use an alcopad (alcohol wipe) if one is provided and the fabric can tolerate it. If in doubt, always test on an inconspicuous area first to see how the colour or surface reacts. - Bring the tear together
Lay the garment flat and bring the edges of the tear as close together as possible. On a down jacket, ensure the filling is tucked completely inside the outer fabric before applying the patch. The patch is meant to cover and hold the area together – it should not be used to pull together two edges that are far apart. - Choose the right size
The patch must cover the entire damage and have a substantial border around it. Do not cut it to the exact shape of the hole or tear. Leave enough undamaged fabric around the hole for the adhesive to grip. If you are cutting the patch yourself, always round off the corners. Sharp corners catch easily and will cause the patch to peel off. - Place the patch precisely
Avoid touching the adhesive side of the patch more than necessary. Place the patch in the correct position on your first attempt, and then smooth it down from the centre outwards. This minimises the risk of wrinkles and air bubbles. - Press down firmly
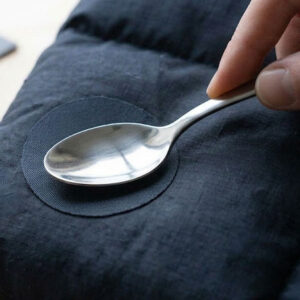
The adhesive needs pressure to bond properly with the fabric surface. Lay the garment on a hard, flat surface and press firmly over the entire patch. Be especially thorough around the edges. You can use your fingers or rub with a smooth, hard object, such as the back of a spoon, a small bottle, or a rolling pin. Follow the instructions supplied with your product before using or washing the garment.
Common mistakes when using self-adhesive patches
The patch is too small: If the patch only just covers the hole, the adhesive has too little surface area to grip. Opt for a slightly larger patch that extends well onto the undamaged material around the tear.
The surface is not clean: Even a garment that looks clean can have invisible residues of grease, dirt, or reproofing agents on the surface. Cleaning and thorough drying make a massive difference to how well the patch stays in place.
Leaving sharp corners: Sharp corners catch easily on other materials or start to lift. Avoid this by cutting soft, rounded corners whenever you shape a patch yourself.
Only pressing lightly with your hand: Simply laying the patch in place and smoothing it over quickly with your palm is rarely enough. Apply firm, even pressure over the entire surface, paying extra attention to the edges.
The damage is in a tricky spot: Areas close to seams, elastic, folds, zips, or highly curved sections can be more difficult to repair with a flat, self-adhesive patch. In these cases, evaluate whether the patch can actually make full contact with the surface.
Frequently asked questions about self-adhesive patches
Do self-adhesive patches work on waterproofs and puddlesuits?
It depends on the surface of the fabric and any coatings. Some waterproof garments have a completely smooth surface where a self-adhesive patch will stick incredibly well. On other materials, the surface may be treated in a way that makes it difficult for the adhesive to bond. Waterproof trousers and puddle suits are also subjected to a lot of movement, dirt, and abrasion – especially at the knees and seat. This puts high demands on cleaning, patch size, and careful application. We recommend testing the adhesion on an inconspicuous area before carrying out the final repair.
Will the repair be completely waterproof?
A self-adhesive patch will seal the hole and help protect the area from water. However, this does not automatically mean that the garment’s original waterproof rating, breathability, or technical performance is fully restored. The result is affected by the fabric type, whether the damage goes through a seam, how large it is, and how much the fabric stretches and flexes in use. On technical shells, tents, and other gear where absolute waterproofness is critical, a specialist repair or internal sealing tape may also be required.
When is a self-adhesive patch not the best option?
While self-adhesive patches are incredibly easy to use, they are not suitable for every repair or material. You may get poorer results on very coarse or uneven surfaces, highly elastic fabrics, dirty or greasy areas, siliconised fabrics, or pile, fleece, and other very fluffy materials. Repairs are also more difficult directly on seams or zips, or for very large holes where sections of fabric are missing. For jeans, cotton, and other heat-resistant fabrics, an iron-on patch is usually a better solution. For socks, we recommend our dedicated fabric patches, such as Sokkelappen.
Can I wash the garment after repairing it?
Yes, many garments with self-adhesive patches can be washed. Always follow the garment’s original wash care label and the instructions for the patch you have chosen. Wait the recommended time after application before washing the garment. Check the edges of the patch before washing – if any corner has lifted slightly, press it down firmly again before putting the garment in the washing machine. Washing, high temperatures, and tumble drying put strain on both the adhesive and the material, so wash the repaired garment as gently as possible.
Do I need to use an iron?
No. Self-adhesive patches are applied entirely without an iron. This makes them ideal for delicate materials that cannot tolerate high heat.
Can I apply the patch to the inside of the garment?
In some cases, yes, provided you can access the damage and the patch can lie completely flat against the fabric. On a down jacket, however, it is usually easiest to repair from the outside, as the lining can make accessing the back of the outer fabric difficult.
Do the patches work on Gore-Tex and other membrane fabrics?
They can adhere to the outer fabric of certain membrane garments, but fabrics and coatings vary widely. A repair may also affect the technical performance of the fabric and does not automatically guarantee that the original waterproofness is fully restored. We recommend checking the garment manufacturer’s own care and repair guidelines.
Can they be used on jeans and cotton?
Self-adhesive patches can sometimes be used as a quick or temporary fix, but they adhere best to smooth synthetic fabrics. For jeans and many cotton garments, an iron-on patch will provide a much more flexible and long-lasting repair.
Can the patch be removed later?
It can be very difficult to remove a self-adhesive patch without damaging the fabric. Adhesive residue may be left behind, and delicate surfaces can become discoloured or damaged. Place the patch carefully and assume that the repair is intended to be permanent.
What should I do if an edge begins to lift?
First, ensure the area is clean and dry. Then, press the edge down firmly against a hard surface using a smooth, hard object. If dirt has already got under the adhesive, it may be difficult to get the edge to stick securely again. In this case, the patch should be replaced with a new, slightly larger piece.
Summary
Self-adhesive patches are a quick and easy way to repair down jackets, outerwear, sleeping bags, and other gear made from smooth synthetic fabrics. For the best results, remember to:
- Choose a patch that fits the size of the damage.
- Clean and dry the surface thoroughly.
- Ensure the patch overlaps onto undamaged fabric all around the tear.
- Press the entire patch down firmly, especially around the edges.
- Follow the instructions before use and washing.
With the right patch and careful application, a small hole can often be repaired in just a few minutes – keeping your gear in action for many more adventures to come.